Getting started Selecting ordersPrinting labelsConfigure appearanceCustom label sheet templatesUse with direct thermal printersFAQHOW TOEdit addressesType in addressesPrint multiple copies of the same labelSet the starting labelChange the flow directionUse Arabic charactersUse Hebrew charactersUse Japanese charactersFix incorrectly cased addressesPrint return address labelsInclude address prefix
Printing labels
Create the PDF: Once you’ve selected your orders, click “Create PDF” in the bottom right. This generates the PDF for printing.
Printing options:
- Print directly: Most browsers allow you to easily send the PDF to your printer.
- Save and Print later: Click “Download PDF” to save the file to your computer. Then, open it in your preferred PDF viewer and print from there.
Print the PDF, not the webpage: Make sure you’re printing the actual PDF document and not the Lightning Address Labels webpage that displays it.
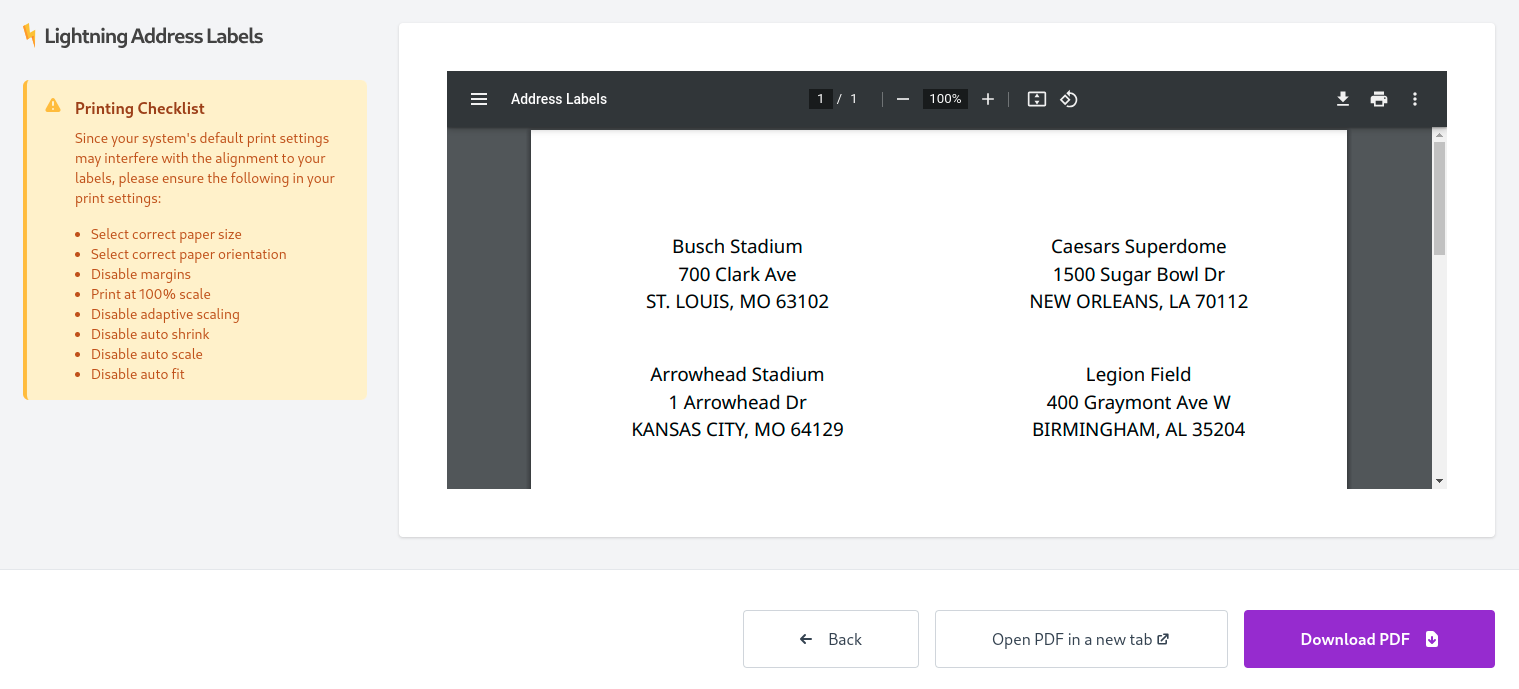
Alignment
For crisp, perfectly aligned labels, follow these printing tips:
- Ditch the Auto-Scaling: Make sure “Auto scale” or “fit to page” is disabled in your printer settings. You want the PDF to print at its original size.
- 100% is the Magic Number: Set your print scale to 100%. This ensures the labels match the dimensions of your chosen template.
- Match the Template: Verify that your page size setting matches the specific label sheet template you’re using, or the label’s width and height if you’re using a label printer.
- Zero Margins: Set your page margins to zero for an exact fit on your label sheet.